Weekend Warrior Project: Free Webstore through Blogger, part one.
About three months ago, I started looking for a way to begin accepting Dwolla online. My current cart doesn't offer that integration, and I can't place "Buy Now" Dwolla buttons on my site because the settings will not allow it. I tried Zen Cart which had an integration module which worked, but the script kept having glitches including my entire store going blank. I floundered for a while with it, considered Jugem Cart (see an example) but that looked too confusing with the "Add to Cart" on the screen also.
About a week ago, something hit me. I was in the process of adding new products to my site, and I remembered what I tried with Google Checkout buttons several years ago on Blogger, but never really had the time to finish. I setup a new blog with a clean white template, and attached a Dwolla button to the blog post. The result was surprisingly clean and shoppable.
Check out the first post
See the blog: http://wrestlingoutlet.blogspot.com
It took several tries to get it right, but once I did this became a piece of cake.
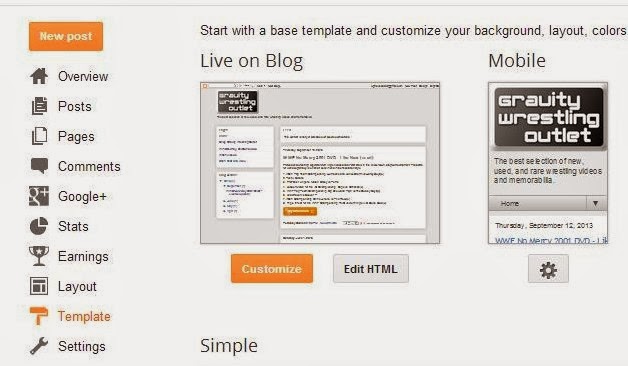
First, I had to setup the columns. I set my width to 1080, and the sidebar to 200. Go to your blog dashboard and select Template. Under the thumbnail of your blog, click on the Customize link, and set your widths until you are happy with it.

From here you can change the layout, column widths, background, or just scrap the whole template and start fresh.
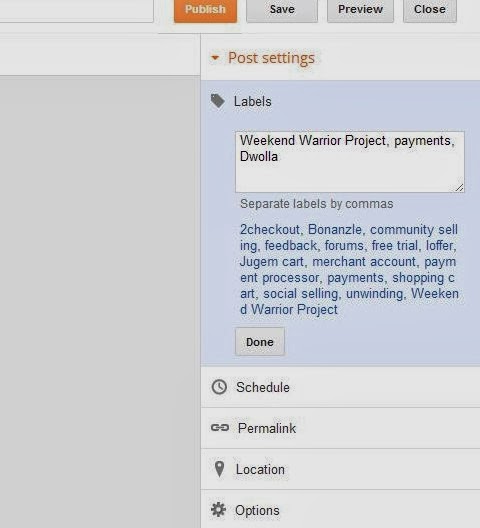
Next, every store needs categories, right? I found a useful way to do this too. Blogger allows labels on all posts. Add your label as the name of the category with each item for sale. Blogger also saves the labels you have used for quick click and add.

After you have set your labels, you will go to your dashboard again and select "Layout" on the left. Click the + beside Labels, and edit your label title as shown in the next photo.
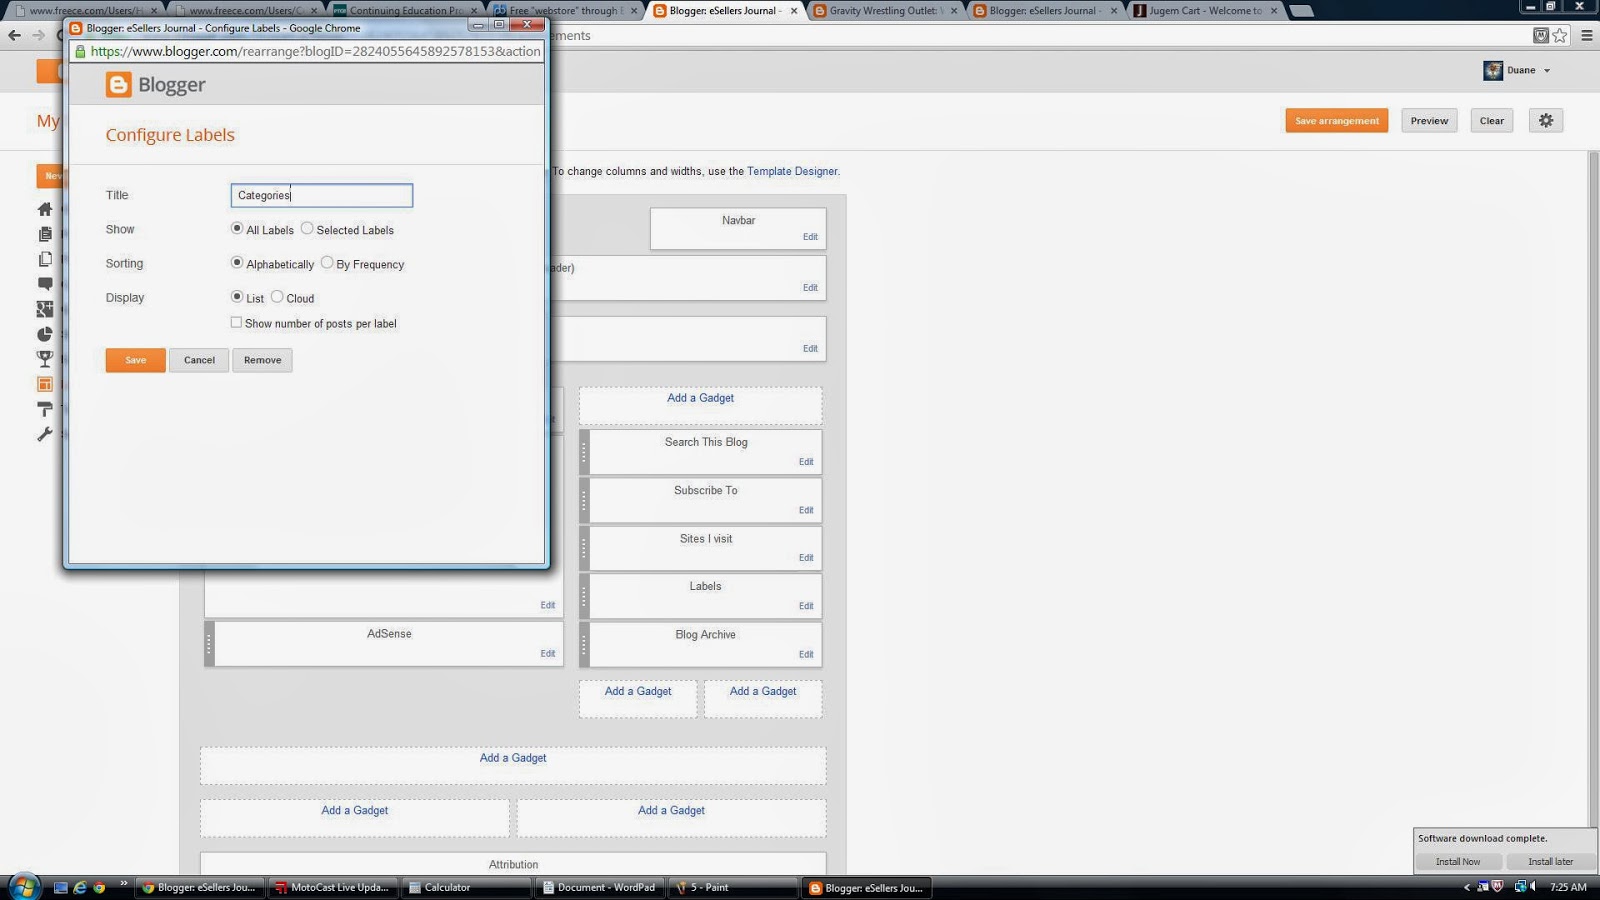 Once you have the layout all set, upload a logo or input a heading text, now you are ready for the first post, or product.
To be continued!
About a week ago, something hit me. I was in the process of adding new products to my site, and I remembered what I tried with Google Checkout buttons several years ago on Blogger, but never really had the time to finish. I setup a new blog with a clean white template, and attached a Dwolla button to the blog post. The result was surprisingly clean and shoppable.
Check out the first post
See the blog: http://wrestlingoutlet.blogspot.com
It took several tries to get it right, but once I did this became a piece of cake.
First, I had to setup the columns. I set my width to 1080, and the sidebar to 200. Go to your blog dashboard and select Template. Under the thumbnail of your blog, click on the Customize link, and set your widths until you are happy with it.
From here you can change the layout, column widths, background, or just scrap the whole template and start fresh.
Next, every store needs categories, right? I found a useful way to do this too. Blogger allows labels on all posts. Add your label as the name of the category with each item for sale. Blogger also saves the labels you have used for quick click and add.
After you have set your labels, you will go to your dashboard again and select "Layout" on the left. Click the + beside Labels, and edit your label title as shown in the next photo.
Once you have the layout all set, upload a logo or input a heading text, now you are ready for the first post, or product.To be continued!
Comments
Post a Comment